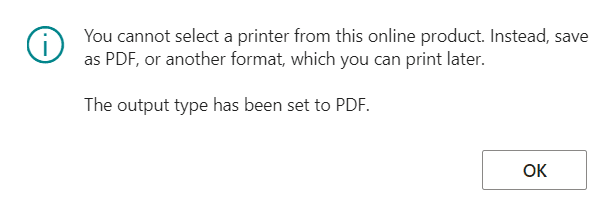
Have you ever tried scheduling a report in Business Central only to find out that you can’t select a printer for the output? It’s a common issue faced by Business Central online users, which prevents them from automatically sending reports to their email addresses. When you try to schedule a report to print directly to a printer, you may see an error message that says: ‘You cannot select a printer from this online product. Instead, save it as PDF, or another format, which you can print later. The output type has been set to PDF.’
Configuring SMTP Settings.
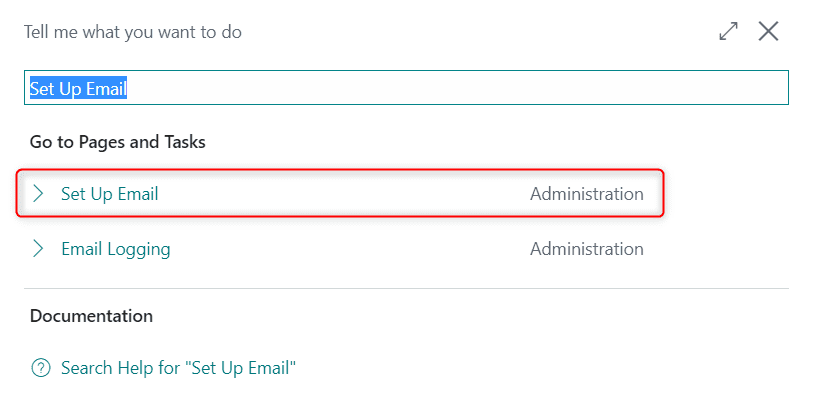
First, let’s configure the SMTP settings. Before you can send any emails from Business Central, you need to make sure your SMTP settings are set up correctly, here’s how to do it:
- Go to the “Set Up Email” page in Business Central.
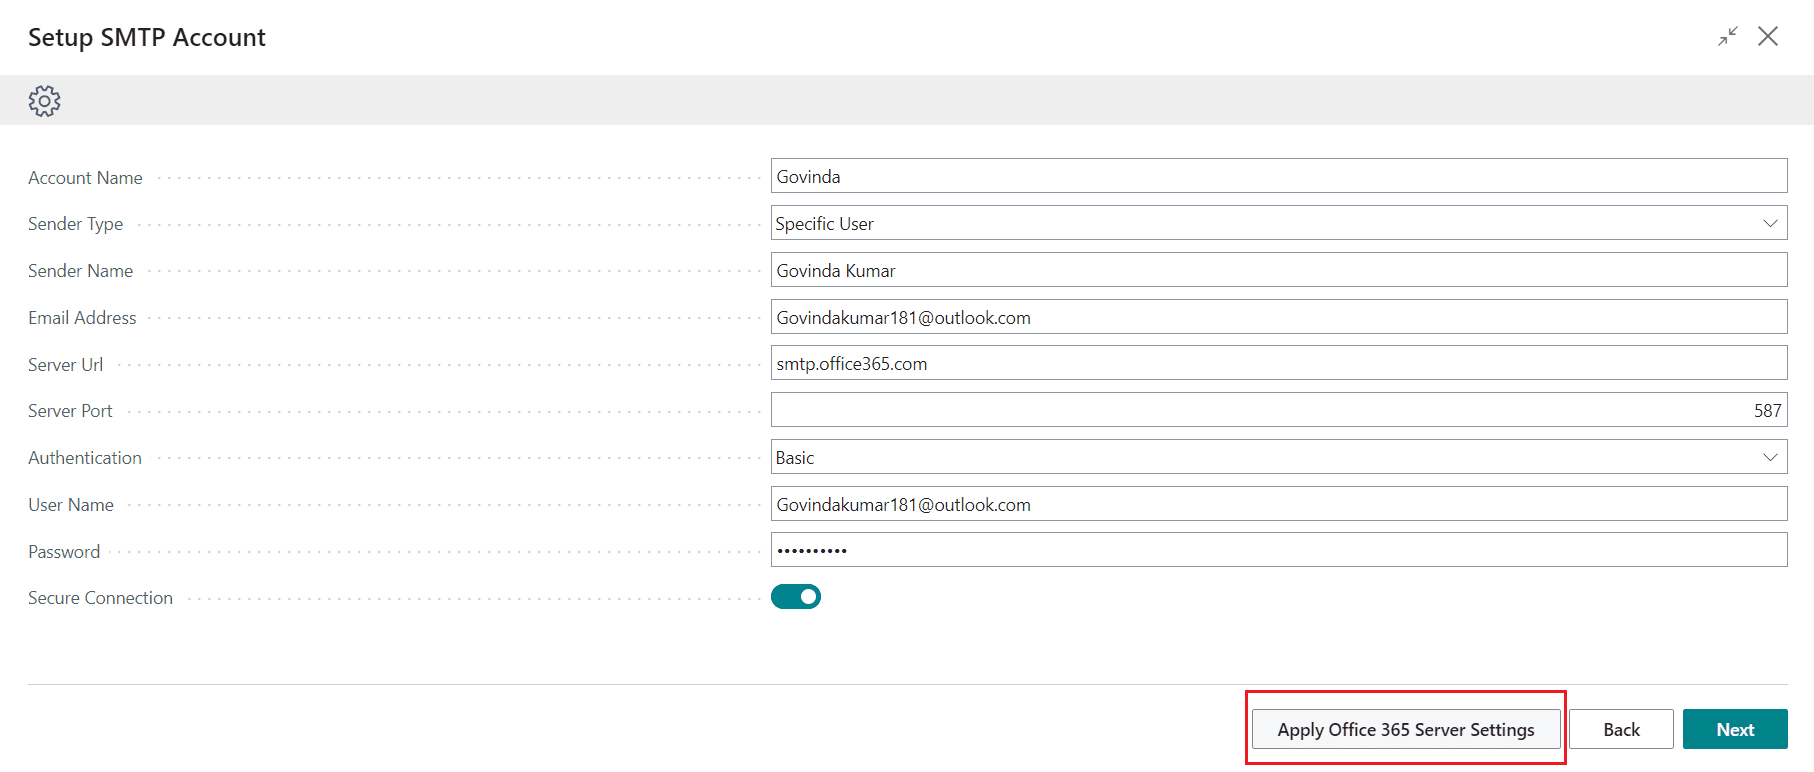
- Enter the necessary details, such as the SMTP server, port, username, password, and sender email address.
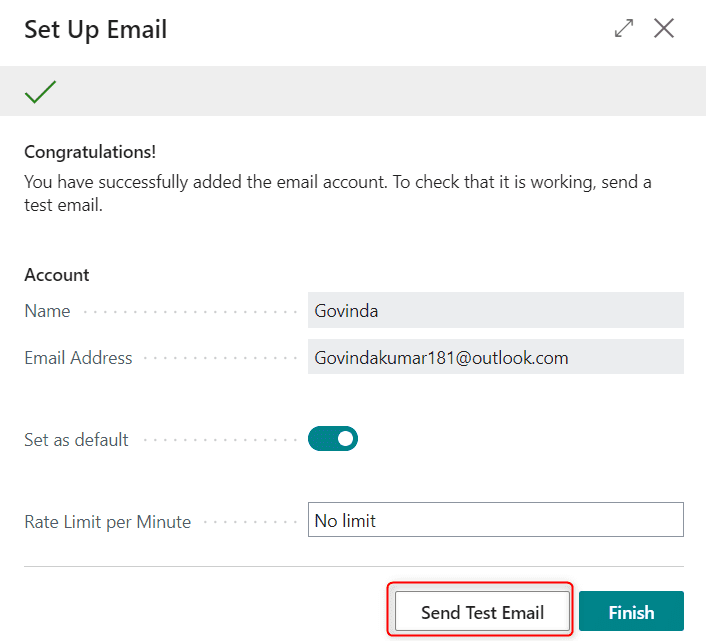
- Click “Test Email” to check if your SMTP settings are correct and you can send emails from Business Central.
Set up the Printer.
Now that your SMTP settings are configured, the next step is to set up the printer to send reports to email automatically. Here’s how to do it:
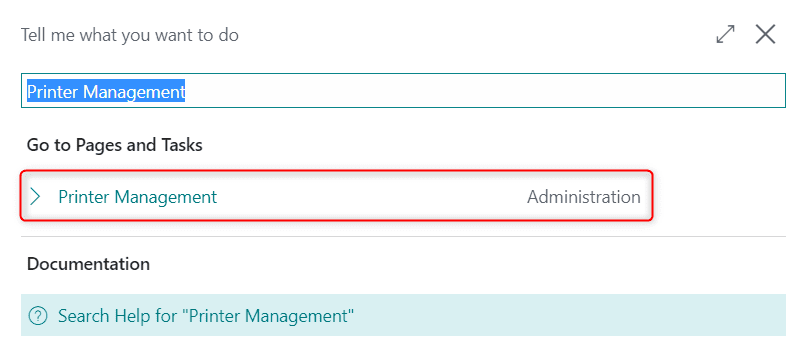
- Go to the “Printer Management” page in Business Central.
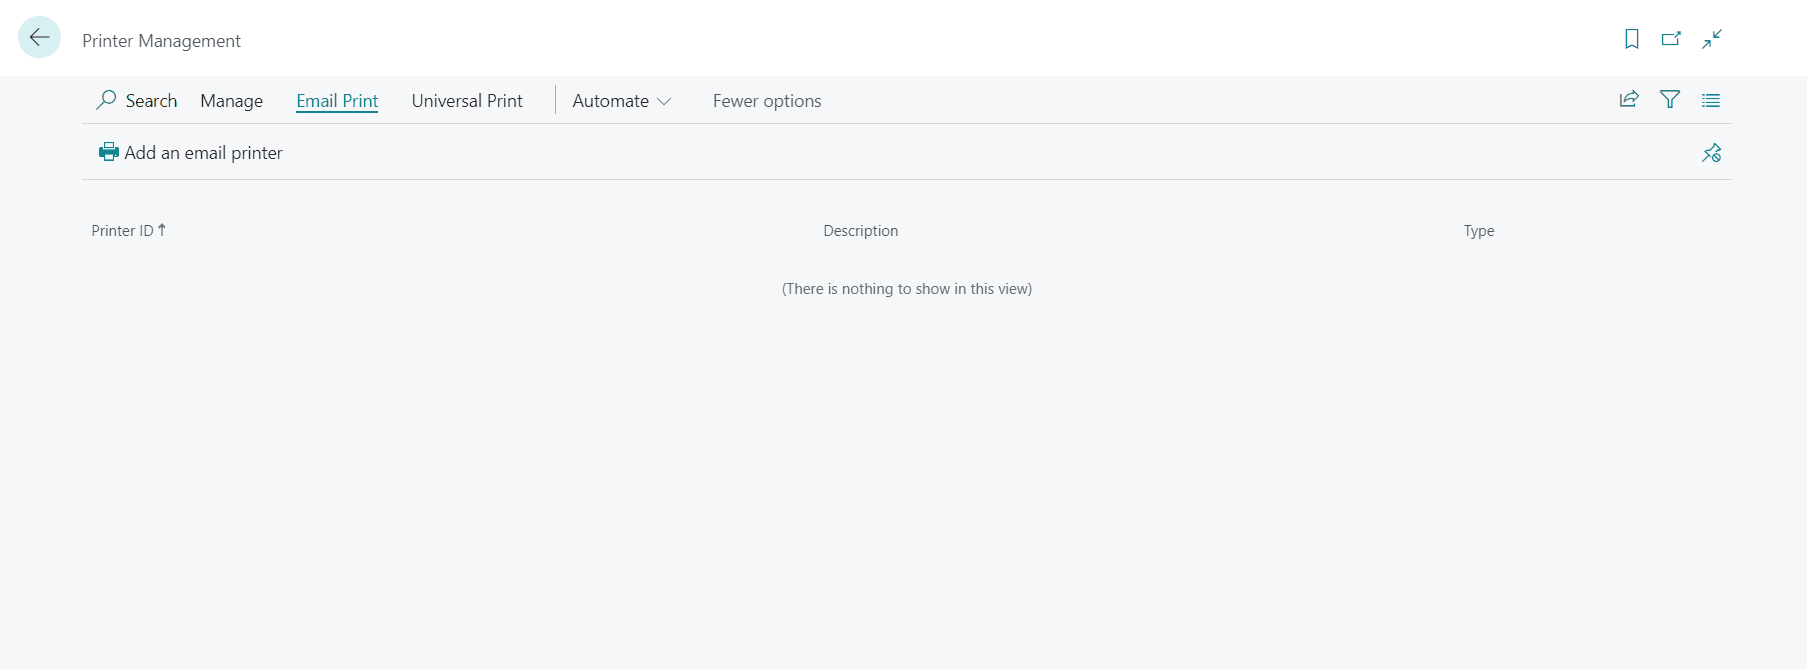
- Add a new email printer.
- Enter the email address where you want to send your reports and any other important parameters, such as the subject and body of the email.
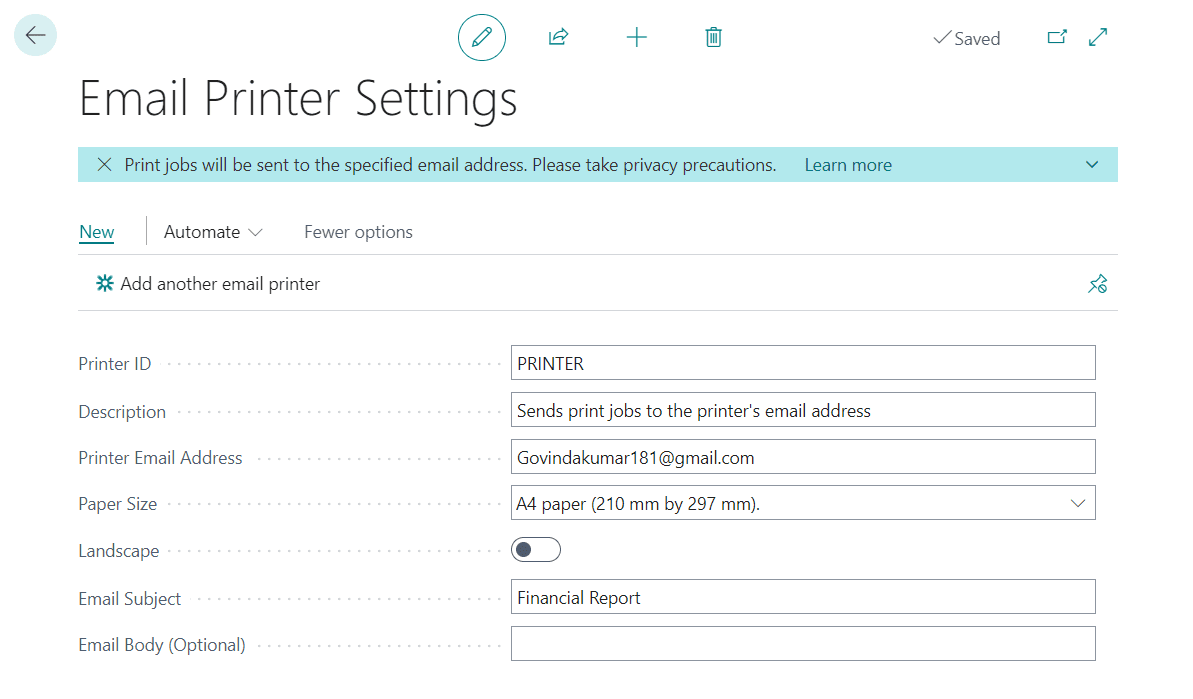
- Set this printer as default.

Creating a Job Queue and testing the solution.
To enable printer selection during report scheduling in Business Central, you need to obtain an extension that modifies the Job Queue table and events and adds custom fields to it. If you need assistance with obtaining and implementing the extension, feel free to contact us or email us at [email protected].
Once you have obtained and implemented the extension, you can proceed to create a job queue and test the solution. Here’s how to do it:
- Go to the “Job Queue” page in Business Central.

- Create a new job queue and select the report you want to send to email.
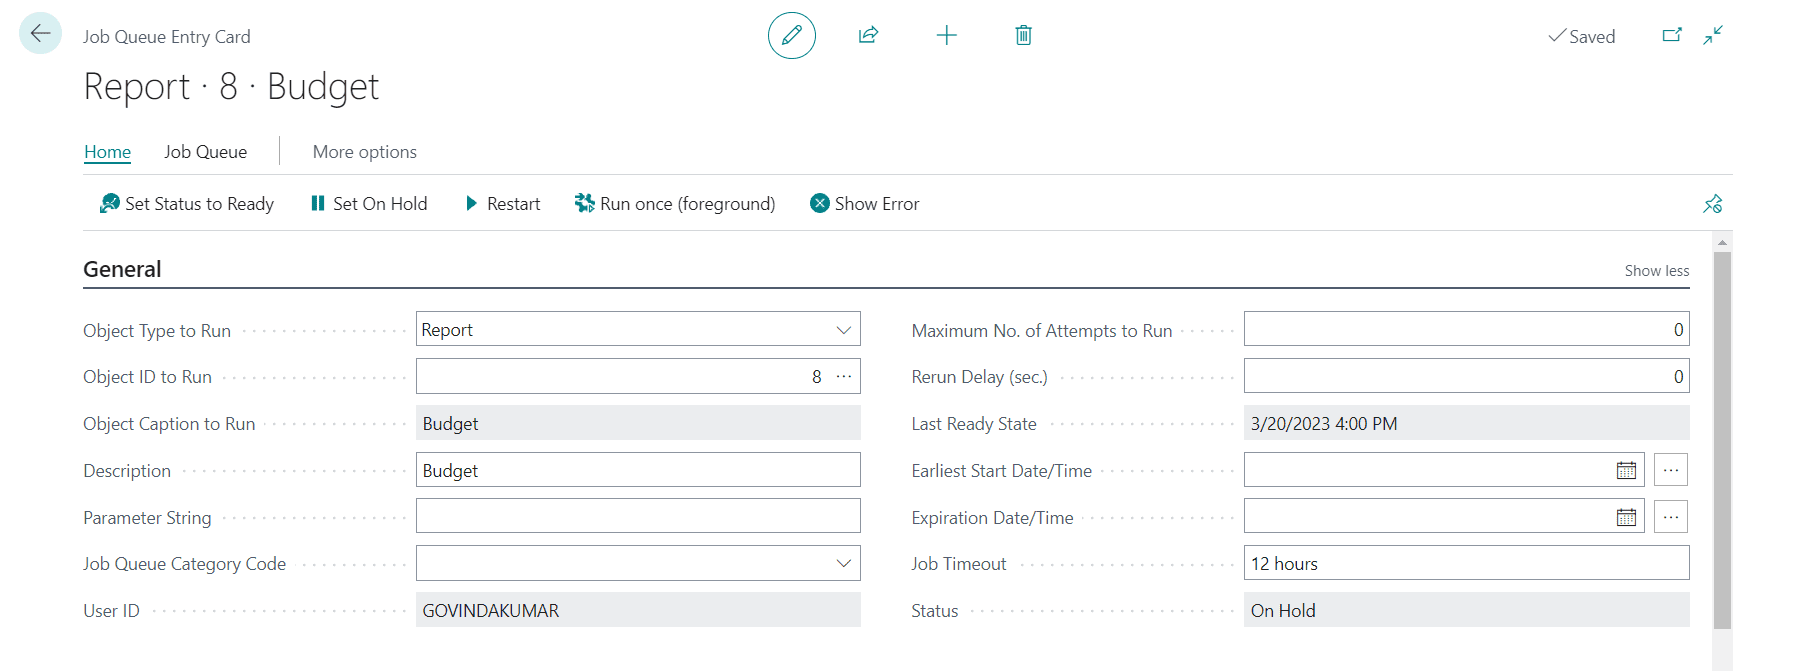
- Set the “Report Output Type” as “Printer” and select your newly created cloud printer in the “Printer Name” field.
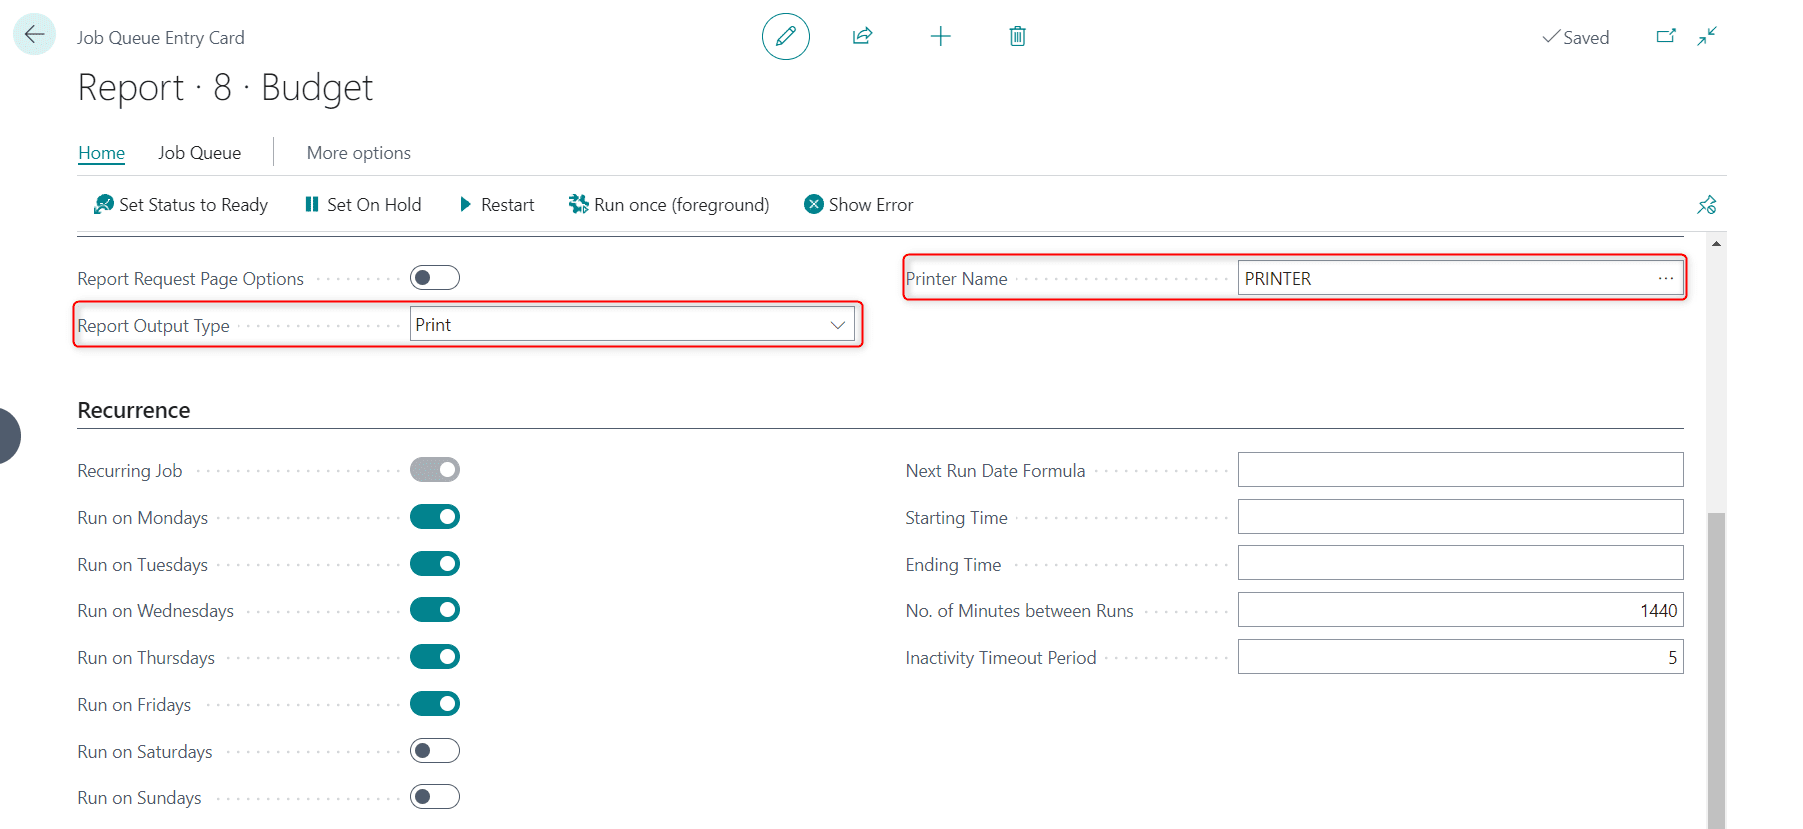
- Set the job queue’s status to “Ready”.

- Verify that you receive the report email in your inbox.
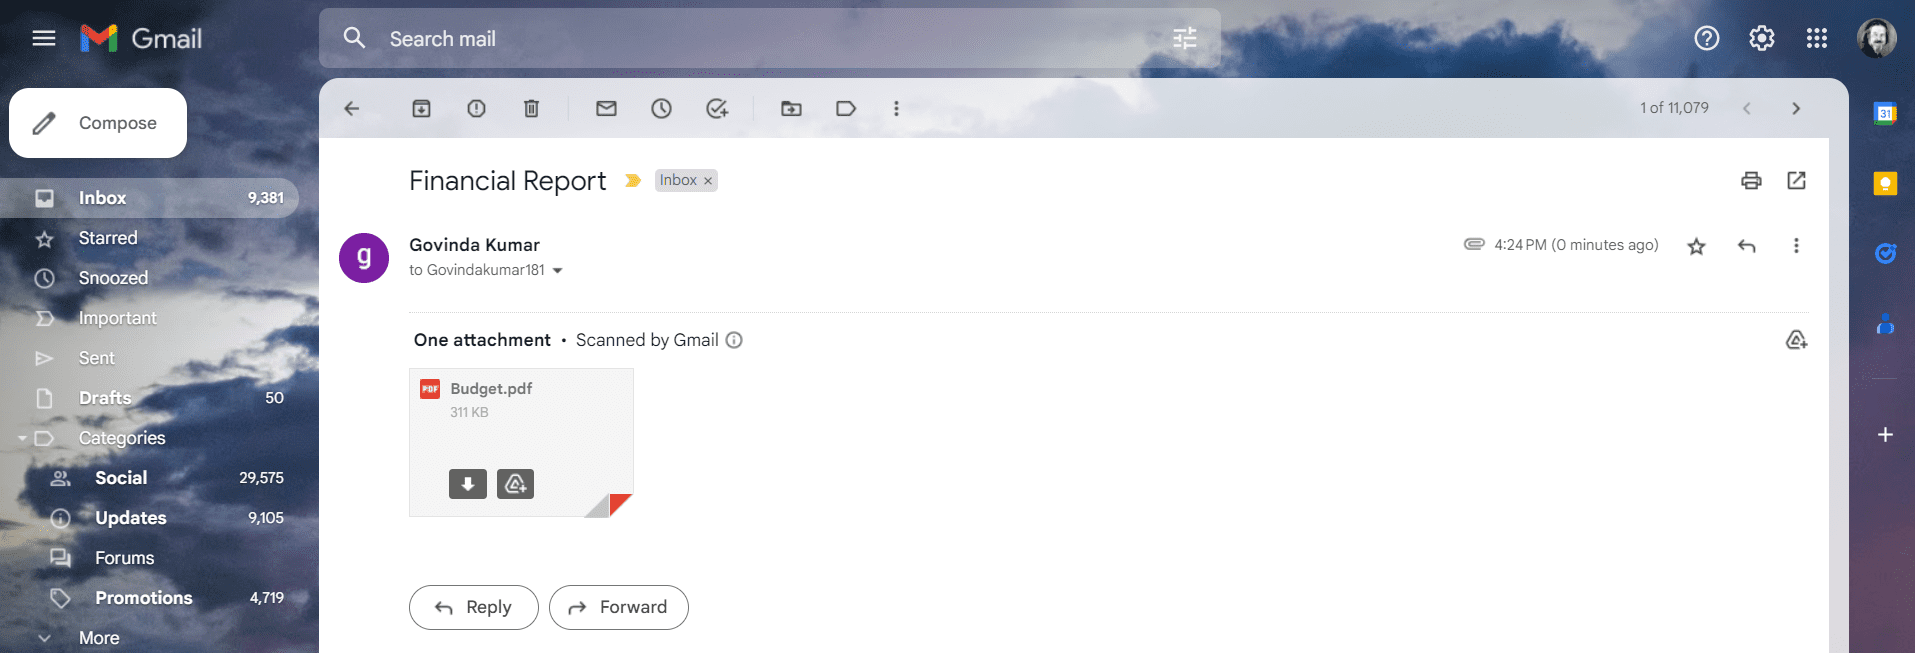
We have tested the solution by scheduling a report and verifying that it was sent directly to the email address specified in the printer, without appearing in the report inbox.
By following these steps, you too can modify Dynamics 365 Business Central to send scheduled reports directly to your email.
If you have any questions or concerns, please feel free to share them in the comments section below. If you need further assistance, you can contact us or email us at [email protected].
Thank you for reading!
Best regards,
Govinda Kumar


