Azure IoT Plug & Play (PnP)
IoT Plug & Play (PnP) makes device integration easier by allowing developers to connect and interact among Azure IoT Devices, Azure IoT Hub and Azure IoT Central. It enables developers to integrate devices without the set of any embedded code. This is achieved by Device Capability Models developed on the basis of the Digital Twin Definition Language.
Today, I’ll show you how to connect Pre-Certified device MxChip (which is PnP Enabled) to the Azure IoT Central.
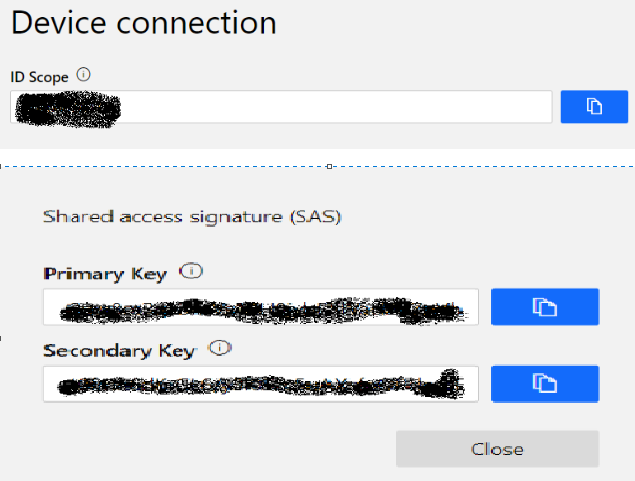
Get Device Connection Details from the Azure IoT Central Application
- Go to the Administration Tab.
- Select the Device Connection.
- Copy the Scope Id and Shared Access Signature (SAS).
Setting Up the MxChip
- Download the latest pre-built Firmware for the Azure IoT Plug and Play from here.
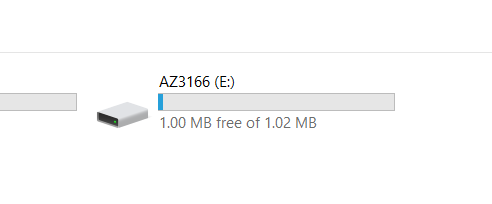
- Connect the MxChip to the development machine and copy the downloaded bin file onto the device drive. Afterward, the device reboots with the new firmware.
- Now on your development machine, connect the Wi-Fi network name shown on the screen on the MxChip.
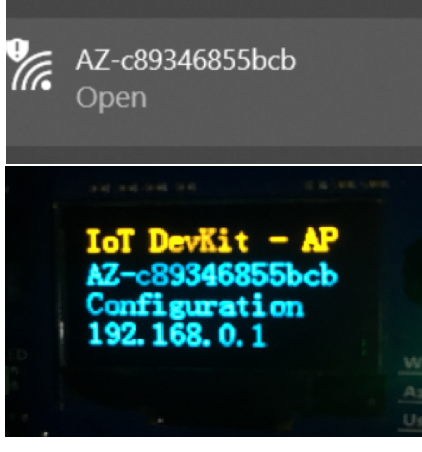
- Navigate to the IP address (192.168.0.1) as shown above on the MxChip screen.
- Enter the name of your Wi-Fi network.
- Your Wi-Fi password.
- The user-friendly or meaningful device Id that you can choose yourself.
- The Scope Id and Generate SAS Primary key which we made a note of previously.
- Finally, click on the Configure Device and MxChip will reboot automatically.

- Afterward, all settings have been saved. The MxChip displays a confirmation that the application is running.

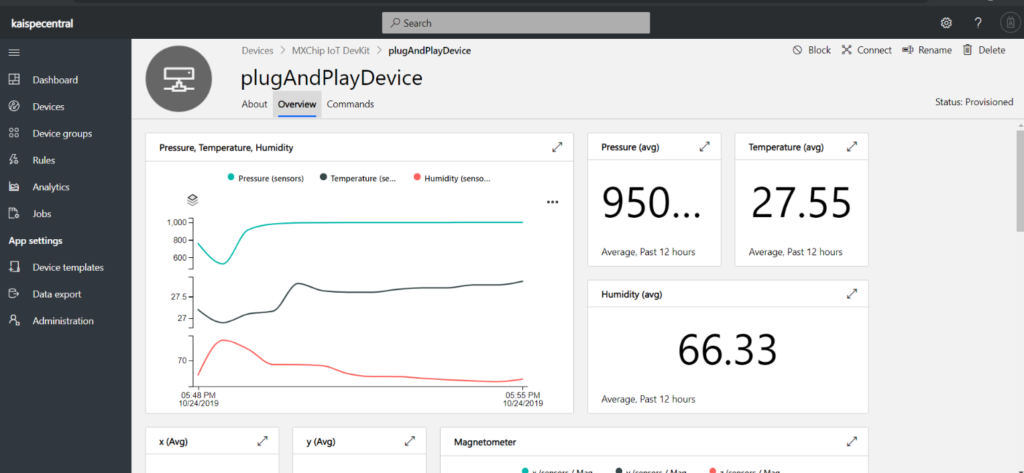
- You can view the MxChip Telemetry Data in your Azure IoT Central Application.
I hope you found this blog post helpful. For any queries, feel free to contact me at [email protected]


