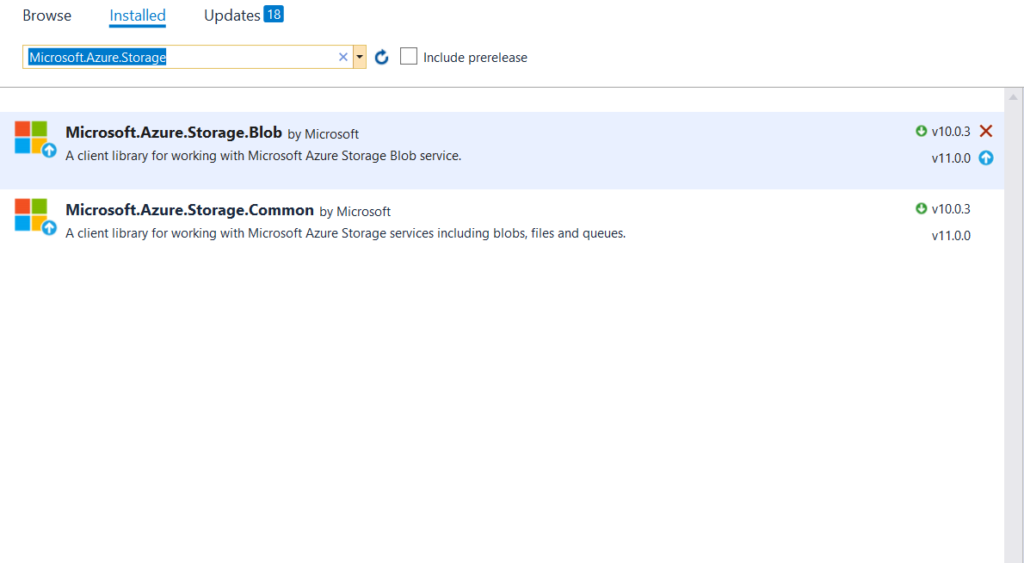
Today, I will show you the basic idea about how to save the data in the Microsoft Azure Blob Storage using a .NET based Web Application. We will use two NuGet packages, Microsoft Azure Storage and Microsoft Azure Storage Blob. In this blog, we will store some sort of Rules in the Blob.

We will create a simple Web page to Get Rules from the Users and save into the Microsoft Azure Blob Storage.
First of All, we will create a blob container using the code below:

There are some restrictions to create a container in the Azure Blob Storage.
- Container name should be in lower case.
- Container name length must be between 3 characters to 63 characters.
- Container name only supports dashes (-), not all the special characters.
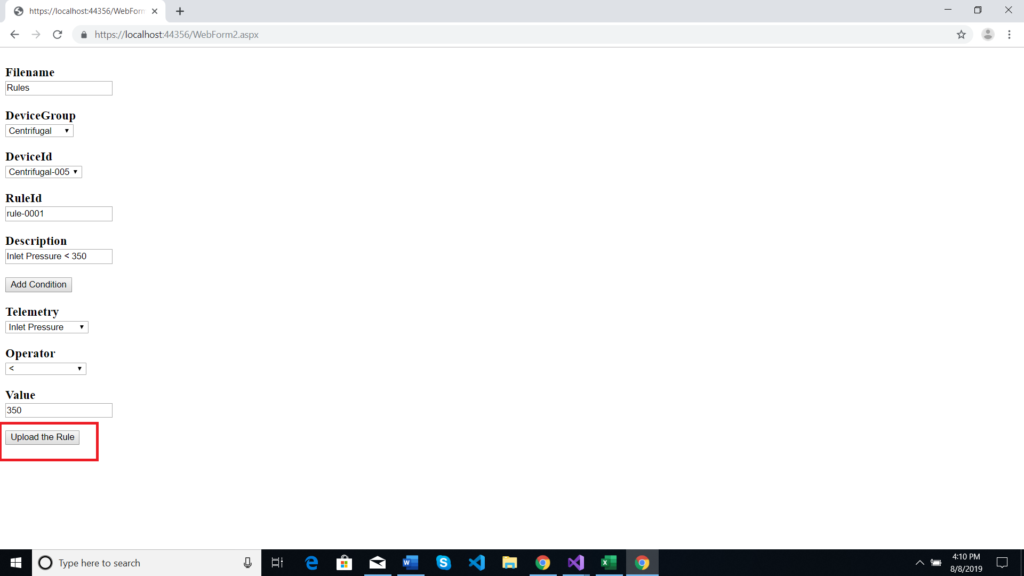
Our Rule page looks like:

Rule Page Description :
- In the filename textbox, we will provide a filename which will be created inside the container i.e., “kaispeblobrules”. The input file will be created in the JSON format.

- Device Groups which will be managed for the bulk of devices to applying Rules.
- Device Id is optional if you want to assign a single rule for a specific device.
- Rule Id for managing Rules.
- A description is Optional.
- In the Telemetry option, we will get an existing Telemetries list which is assigned for the Device Groups.
- Operators for the condition. For e.g. Pressure <, Temperature >
- Value is numeric values for checking the condition requirements. For e.g. Pressure > 150.

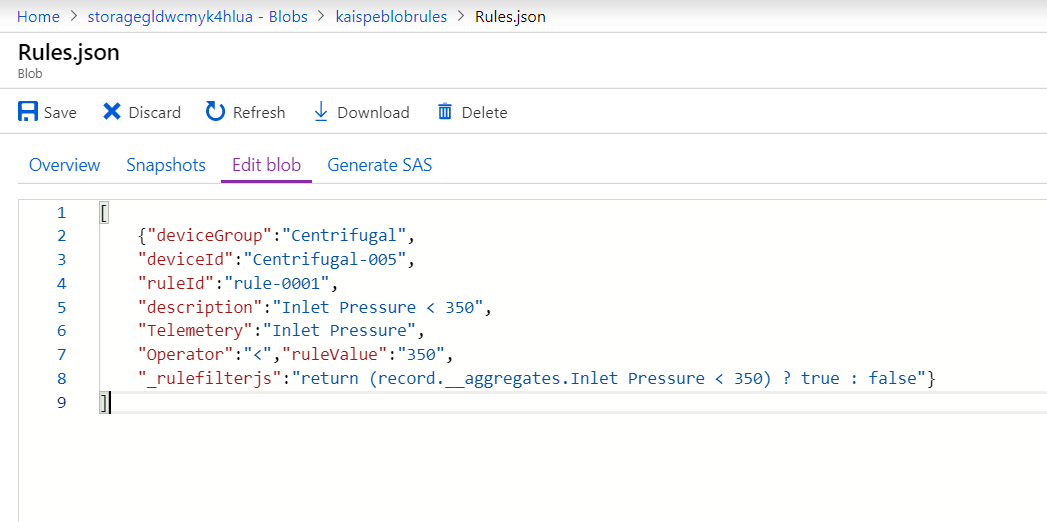
Now fill the data and Upload the Rule so it should be created a file in the “kaispeblobrules” and the name of the file should be our Filename Value which we provided in the TextBox Field.

You can see above in the “kaispeblobrules” container, the file Rules.json is created and it should have a data in the JSON format

Yes, it has the rule data in the JSON format.
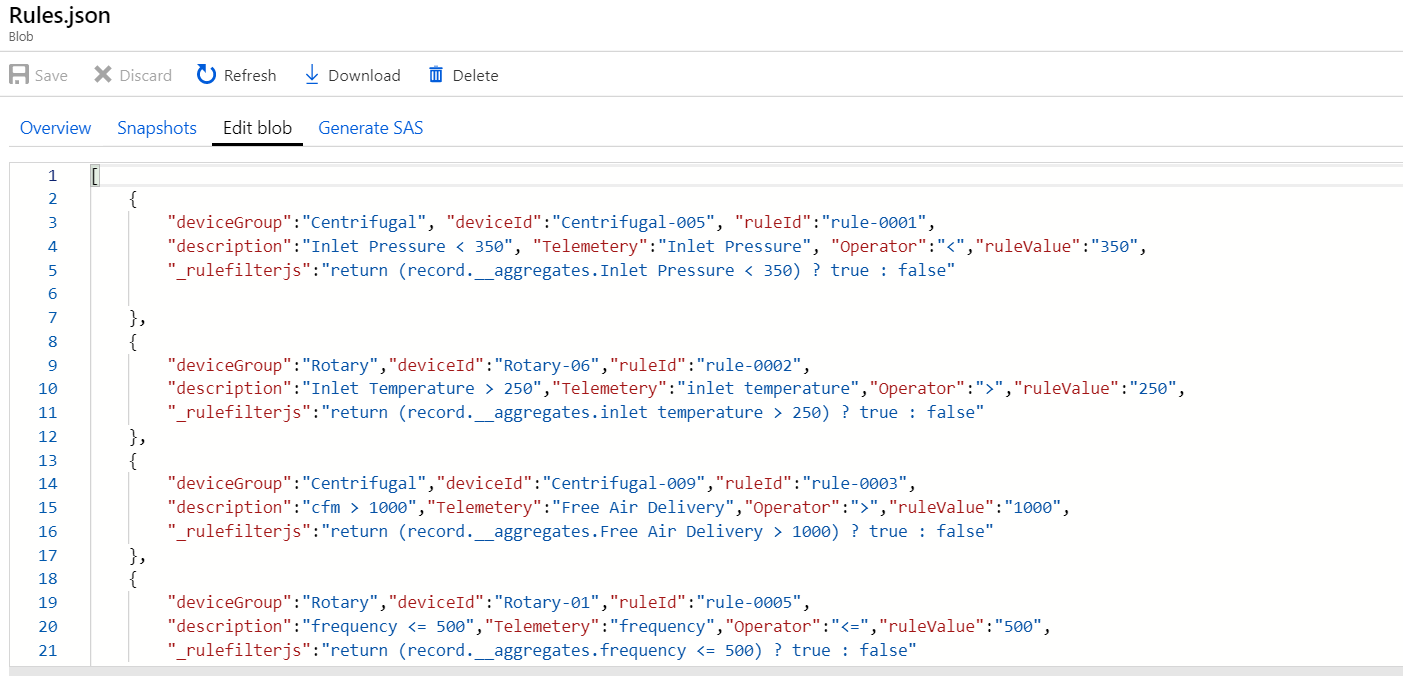
Now we are going to add more rules and see how our JSON file looks like:

You can also read the rules in the Web Application from the Azure Blob Storage to see what rules we added using the code below.

And finally, fetch the Rules data into the Grid so you can easily see the rules.

I hope you found this blog post helpful. For any queries, feel free to contact me [email protected]


