While working on one of our Machine Learning projects, I am using Microsoft Azure Notebooks that provides a vast amount of features you could consume. Let me mention some of the key ones:
- First of all, it’s Free of cost
- We can use the following languages: Python, R, F#
- We can have access to the terminal which is one of the highlighted part
- We can have a complete version control with GitHub using the terminal
- We can have a basic point & click version control with GitHub
- We can also install additional packages as we like
- We can have the access to additional Azure resources.
Now, as we all know the importance of strong collaboration when we work together in a product development team. In this blog post we will learn how to integrate Microsoft Azure Notebooks with GitHub to achieve such collaboration.
To achieve this, let’s follow these steps:
- Create a new repository on GitHub.
- After creating a repository, clone the repository URL into Azure Notebooks. Navigate the top right page, click Clone or download and copy the web URL.
- Next go over to Azure notebooks and create a new project.
- Navigate to the terminal to clone the link you got from the GitHub repository page.
You can now sync with GitHub for version control, sharing with colleagues or for any other purpose. You can now configure your name and email address.
![]()
In next step we have to add all files in the folder to like git repository and all files will be staged to their first commit and after we can see all of the files we staged for commit.
![]()

So, let’s commit from the repository.
![]()
Now in last we can push the code from the notebooks to GitHub by type the following, how ever we will be asked a user name and password.

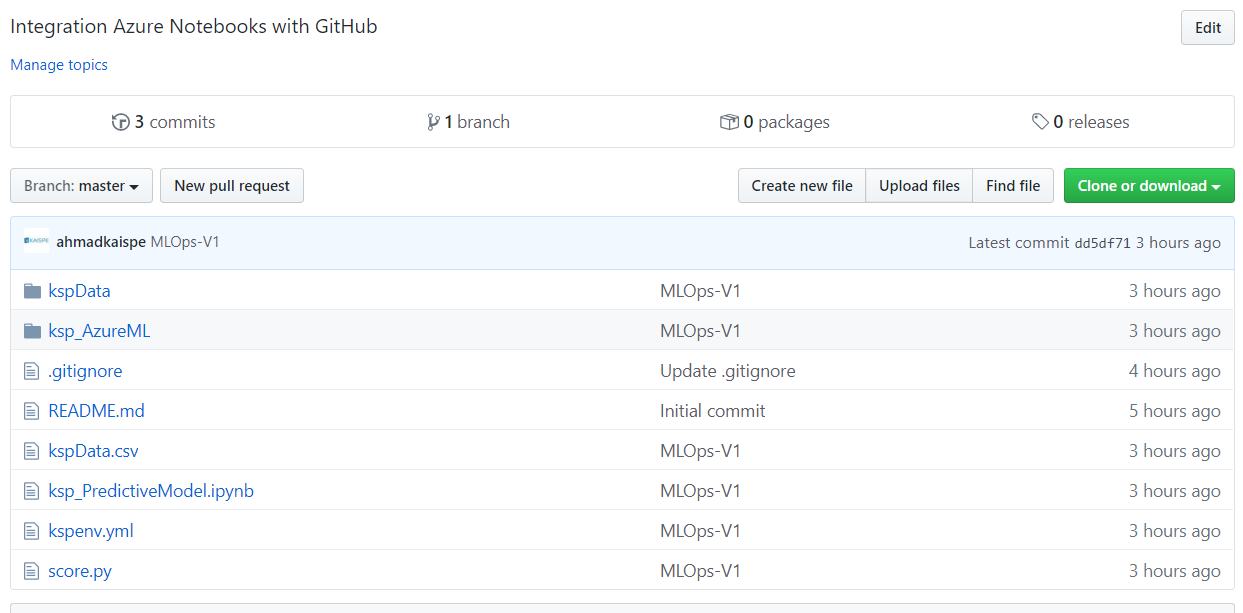
We are now ready to keep our Azure Notebooks project and GitHub remote repository in sync. Here we can see the result.

I hope you found this blog post helpful. If you have any questions, please feel free to contact [email protected].


