Hi!
Today in this blog post, I will demonstrate you how to get started with MXChip AZ3166 that will let you build cloud powered IoT application in minutes using Microsoft Azure Services.
First of all, we need to prepare the development environment which includes:
- Visual Studio Code.
- Arduino
- An active Microsoft Azure Account/subscription.
- MXChip AZ3166 for hardware use.
- Extensions for Visual Studio Code:
-Arduino
-Azure IoT Tools
-Azure IoT Hub Toolkit
-Azure IoT Device Workbench
We also need to install ST-Link driver ( Uses for communication with development machine), and Arduino:Board manager which we can find by pressing the F1 for command option and install AZ3166.
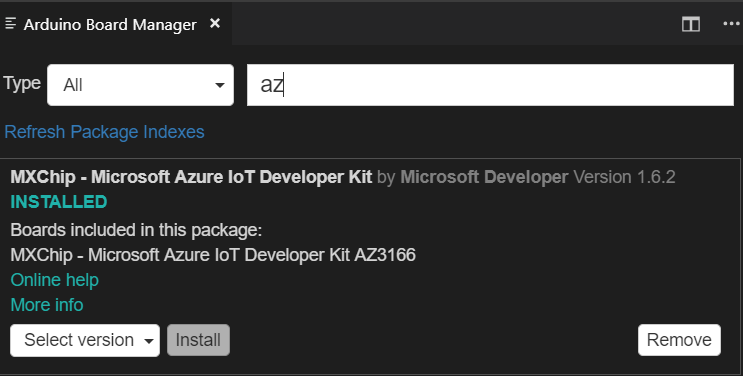
So, now as we have developed the lab environment, we will use Azure Portal to create a resource group and Azure IoT Hub to register our device.
To configure the device we need to plug the USB cable to IoT DevKit and a PC. Finally, we need to configure WiFi for our IoT DevKit internet connectivity. We will hold down button B, push and release reset the button and then it displays the service set identifier (SSID) and a WiFi configuration IP address.

For the WiFi connectivity first we need to connect our IoT DevKit SSID to PC and enter 192.168.0.1 in the browser, now we are ready to use our device.
Now lets build the project as IoT DevKit contains loads of sample projects which we can use to connect with the IoT DevKit and explore Azure services such as Cognitive Service etc.
So, in the first step we have to open Visual Studio Code and press F1 for the command palette and search for Azure IoT Device Workbench:Open Example and then select IoT DevKit
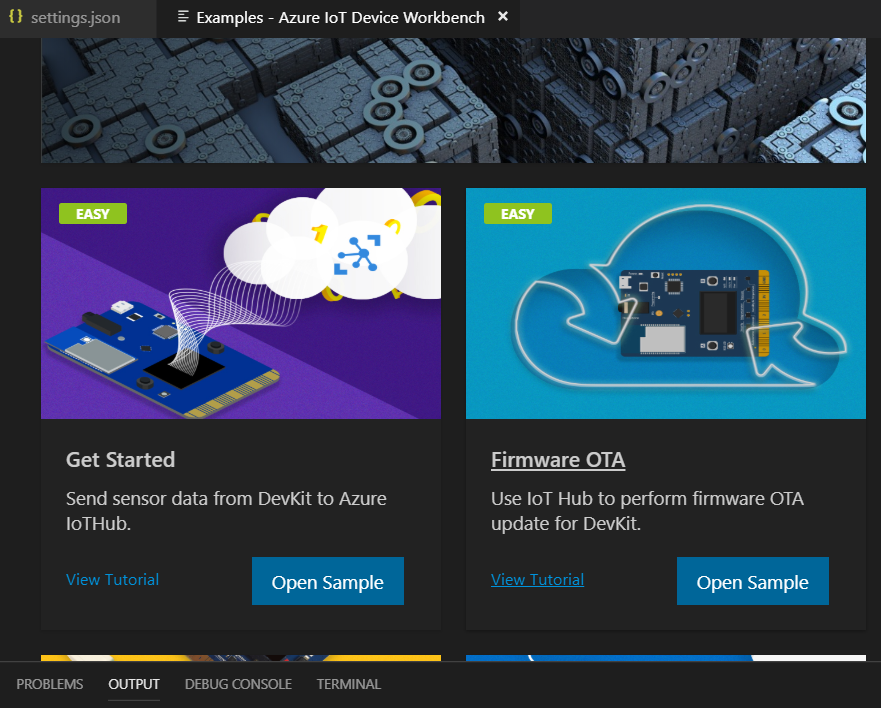
Next step, in Azure IoT Device Workbench page we have to find Get Started sample and download the sample code.
After we have downloaded the sample code we need to “Provision Azure Services” and we can do that by pressing F1 and write in a command palette Azure IoT Device Workbench:Provision Azure Services.
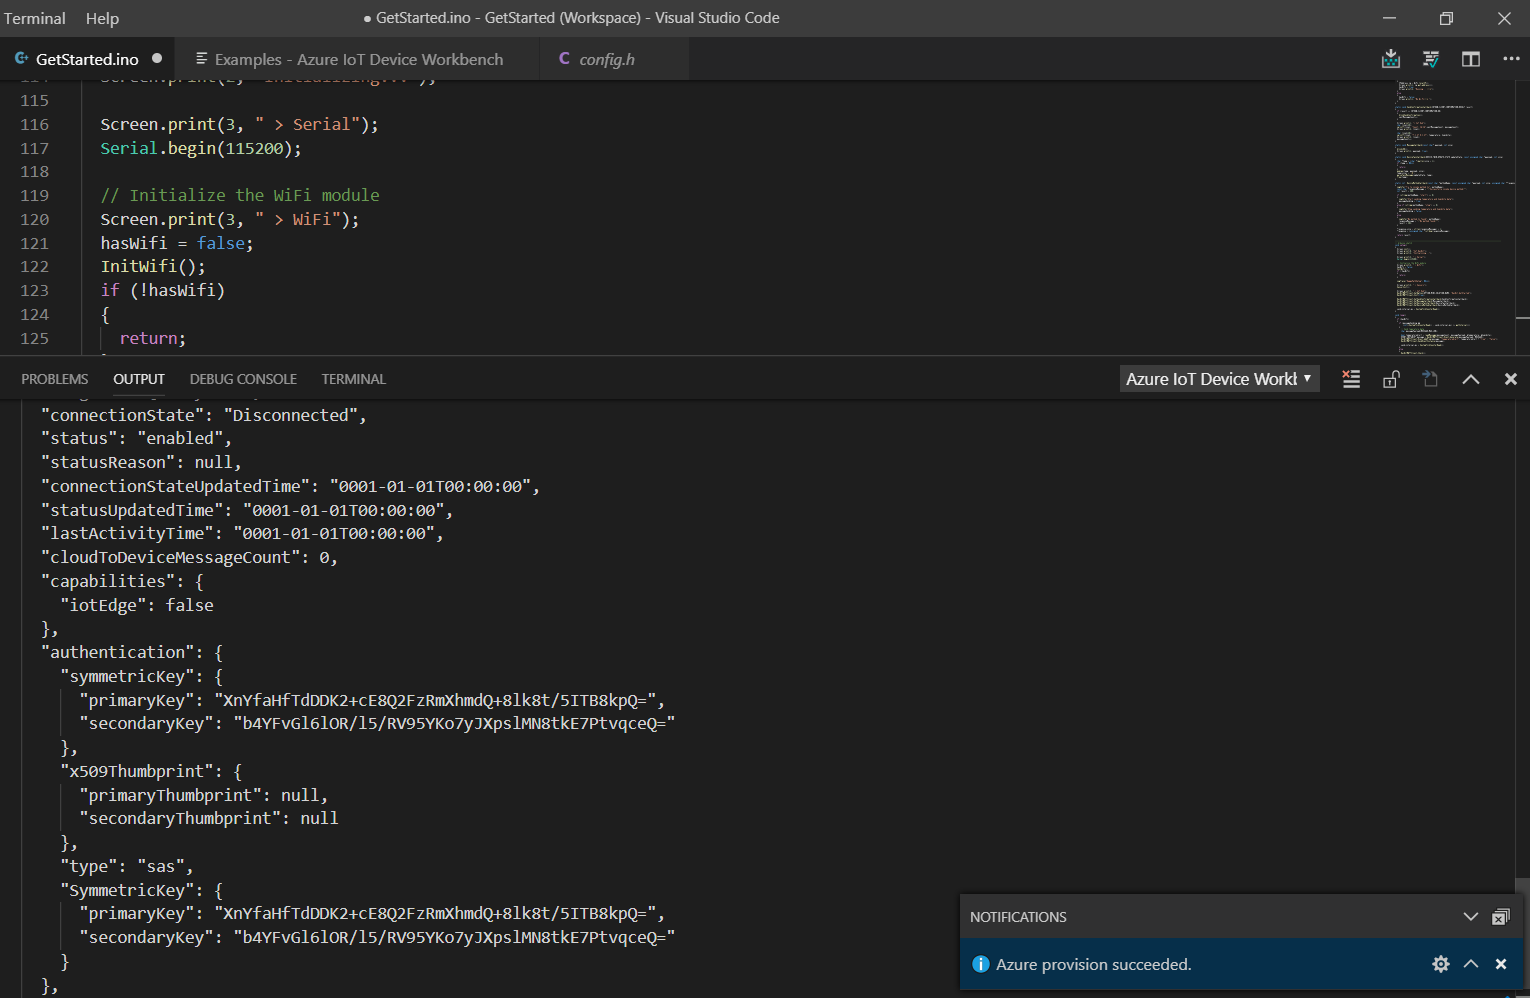
Now, as we have successfully provisioned, we have to select the serial port and a board which we can find in bottom-right page in Visual Studio Code, and that is where the ST-Link driver is being used.
In next step we need to configure the device connection string. We can do that by running the command Azure IoT Device Workbench:Configure Device Setting. We then select the configure Device Setting and we will see the following steps:
1-Configure Device Connection String
2-Select IoT hub Device Connection String.
On hardware side, we need to configure and save the connection string, we have to hold down button A, push and release the reset button.
Now, we are ready to upload the device code and you can upload it by running the command in command palette by pressing F1 and type Azure IoT Device Workbench:Upload Device Code.

We can test the project by opening the serial monitor port and then serial monitor will start displaying the messages which were sent to IoT Hub.

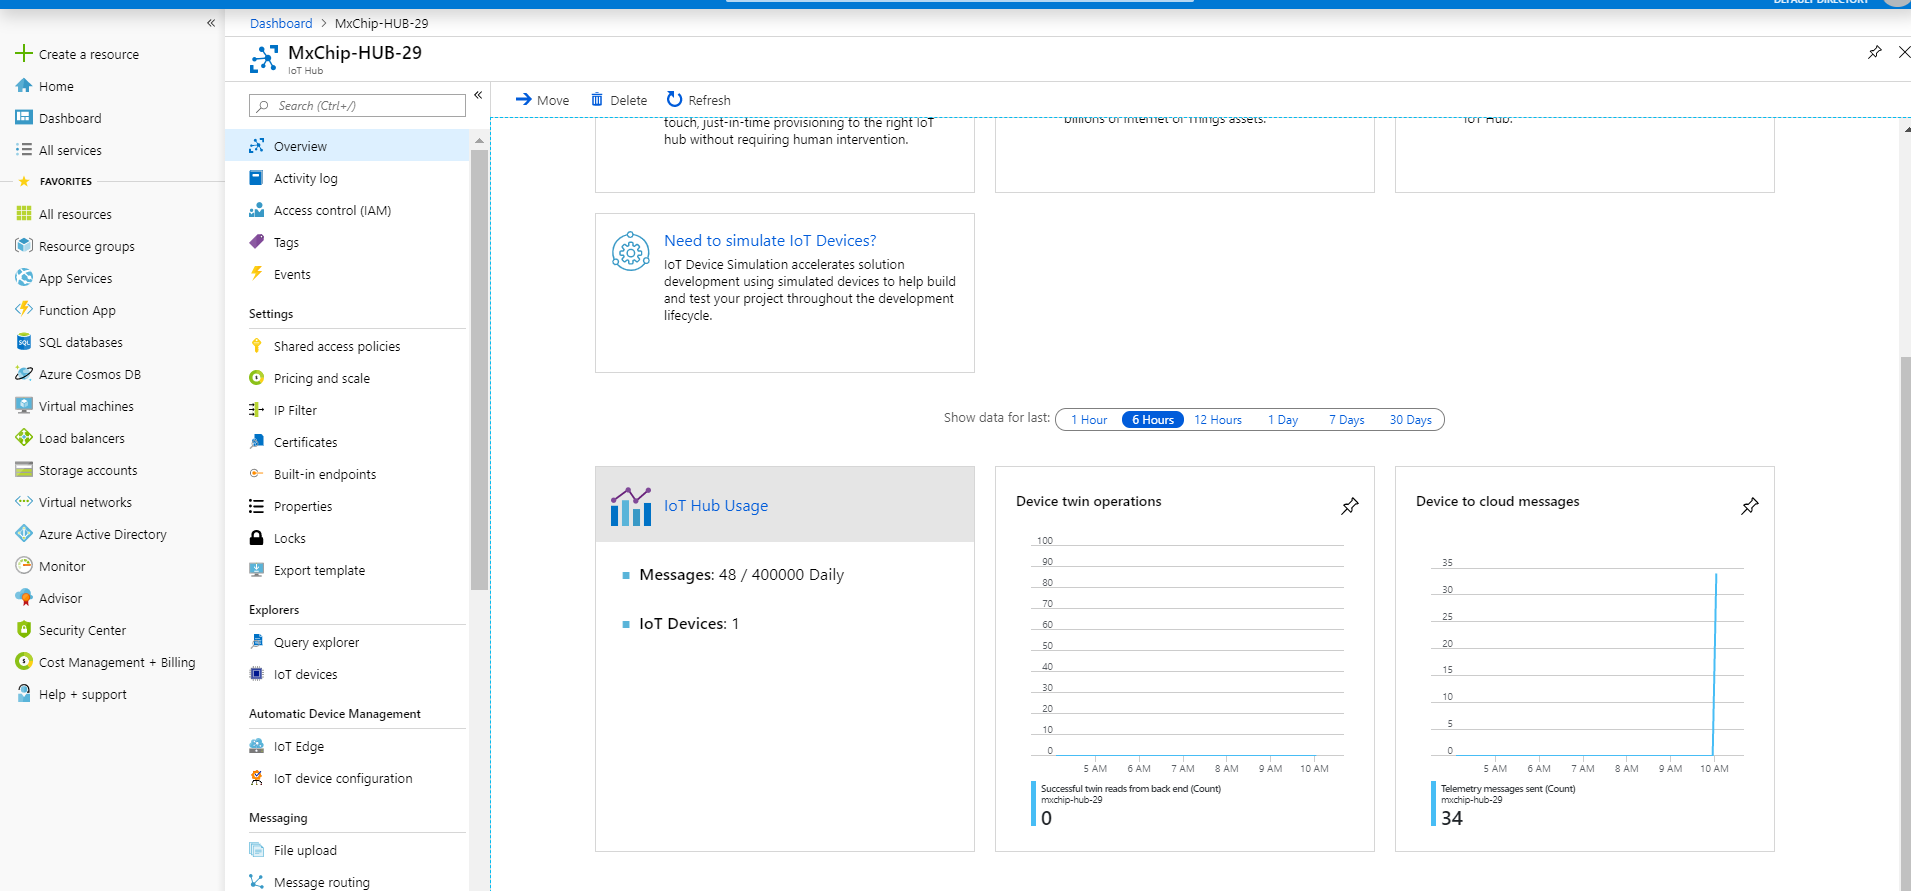
We can also see the device messages on the IoT Hub we created as you can see below:
I hope you found this blog post helpful. If you have any questions, please feel free to contact me [email protected]


