Integrate Lobe AI with Power Apps for Facial Identification
Facial recognition and identification are becoming increasingly crucial in modern applications, enabling seamless user experiences and personalized interactions. With Lobe AI’s powerful capabilities, you can easily integrate facial identification into your PowerApps canvas app. In this blog, we’ll walk you through the step-by-step process to integrate Lobe AI with Power Apps for Facial Identification.
Step 1: Download and Install the Lobe AI App
- Go to the Lobe AI website (www.lobe.ai) and download the Lobe AI application for your operating system.
- Install the application following the provided instructions.
Step 2: Upload and Label Images for Model Training
- Open Lobe AI on your machine and create a new project for facial recognition.
- Upload a dataset of labeled facial images to the project. Ensure that each image is labeled correctly to train the model effectively.

Step 3: Train the Model
- After uploading and labeling the images, start the model training process.
- Lobe AI will process the dataset and train the model to recognize the facial features you specified.
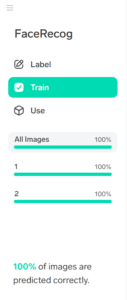
Step 4: Verify Model Accuracy with Testing
- Once the training is complete, use Lobe AI’s testing feature to assess the model’s accuracy.
- Test the model with sample facial images to ensure it can correctly identify the labeled features.
Step 5: Export the Trained AI Model to PowerApps
- With the model trained and tested, export it from Lobe AI to your Power Platform and the desired environment.


Step 6: Utilizing the Camera Control to Capture Images
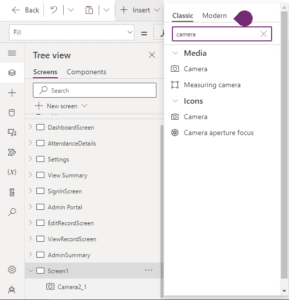
- Within your PowerApps canvas app, navigate to the “Insert” menu and add a camera control. Configure the camera control to capture images using the device’s camera.
Step 7: Passing Captured Images as Parameters to Lobe AI Model
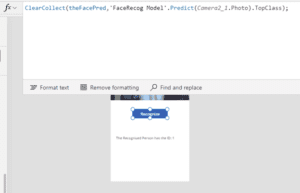
- Add a button or any suitable control to your app, initiating the facial recognition process. Configure the button’s action to pass the captured image from the camera control as a parameter to the Lobe AI model. Leverage the model’s response to identify and process the recognized facial features.
I hope you found it useful. If you have any queries, please feel free to contact us [email protected]


